Start by selecting Manage Users from the top of the screen.

If this is the first time you are accessing the Manage Users function, you must read the disclosure and click Accept and Continue.
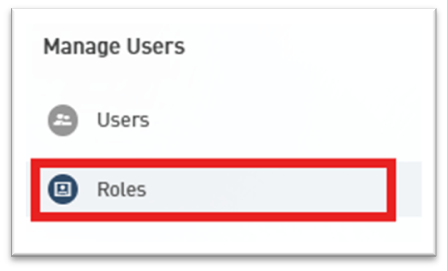
Select Roles from the left side of the screen.
Select Add New Role.

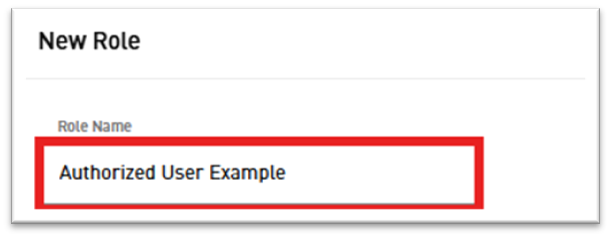
Enter a Role Name such as “Authorized User” or “Accountant.”
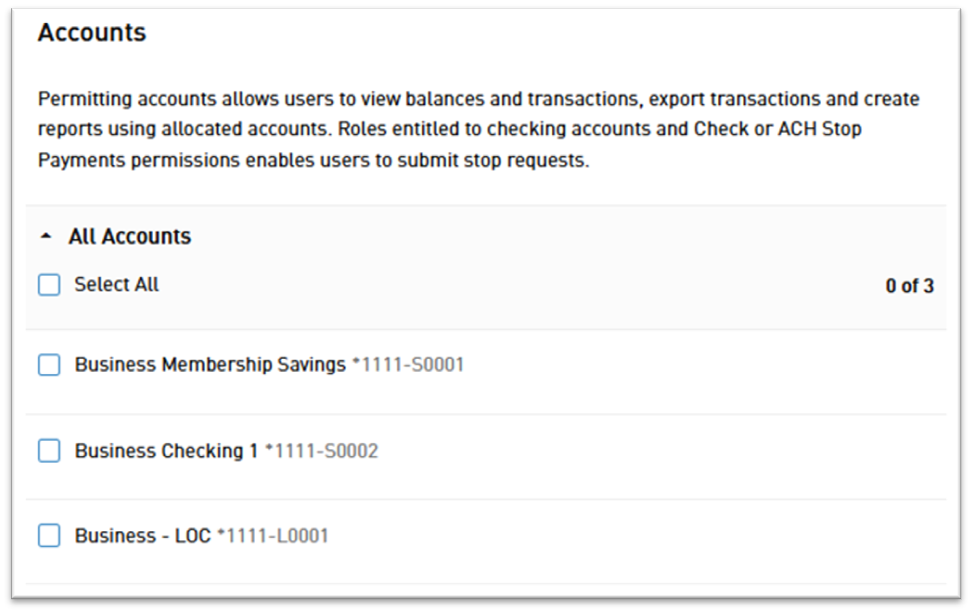
Select which accounts and actions you would like users assigned this role to be able to perform.
Click Create Role to submit and save the new role.
Next, select Users.

Choose a user from the list, or select Add a New User.

If adding a new user, enter all of the non-optional information including first and last name, email address, a username, and a method of sending a temporary password.
Select Continue to save the user.
Select the user from the list.
Click Edit User Details.
Click in the Role box to assign a role from the drop down menu.

Click Save.